Support Induced Discoloration
 A few years ago I realized I wasn’t a big fan of painting on stretched canvas. I didn’t like how much it gave when I painted so I started experimenting with wood. I don’t know how many paintings I had finished before I found out that I should have been cleaning and sealing the wood before I gessoed it, and if I didn’t there was a possibility of discoloration seeping through to my painting. I found out a couple of weeks ago they even gave it a name: “support induced discoloration.”
Ugh. So many paintings…
With the attitude of “better late than never,” I started cleaning the wood with denatured alcohol and sealing it with Kilz Premium primer. I stuck with the wood sizes I was able to find at Lowe’s, which pretty much meant 2’x2′ or 2’x4′. A square format worked fine for the Square Kats paintings I was doing, but not so well with other ideas I had. The problem was, without access to a table saw to cut things down to the sizes I wanted, I was limited to using what was available off the shelf.
And then there’s the framing
 Fast forward to an exhibit I’ll be in that opens this August. I need to frame all the pieces for hanging, and buying thick (the wood boards are ½”), sectional frames for more than 25 square pieces was going to be pretty expensive. But we do have a circular saw and a jigsaw, and I had the bright idea that we could cut 4’x8′ boards down to standard frame sizes.
Yeah.
You really need a table saw. Trust me. We clamped everything down, made a guide rail and even bought brand new fine-toothed blades. Forget it. Once you start cutting across the grain, splinter city. So I broke those lethal splinters off and sanded the boards down. And cleaned them with the alcohol. And sealed them with several coats of primer. And a few coats of gesso. I spent most of the day on that first 4’x8′ board, and only had six 16″x20″ pieces to show for it. I would need to Groundhog Day that whole mess over again four more times. Time to find an alternative.
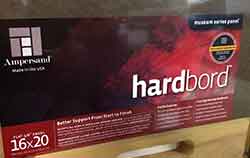
Enter “Ampersand Hardbord“
I had used Masonite years ago, but had heard bad things about it and abandoned it. I did a little research and found out the way hardboards are manufactured these days is very different from when I was using them before, and Ampersand makes them especially for artists who are conscious of archival materials. Their “Hardbords” come in standard sizes and can be as thin as ⅛”. They require sealing prior to applying gesso, but no cutting down to size, and no cleaning beforehand. Here’s their instructions for sealing their panels: Painting on Panel: Sizing.
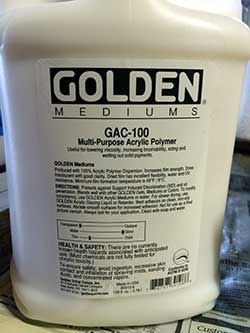
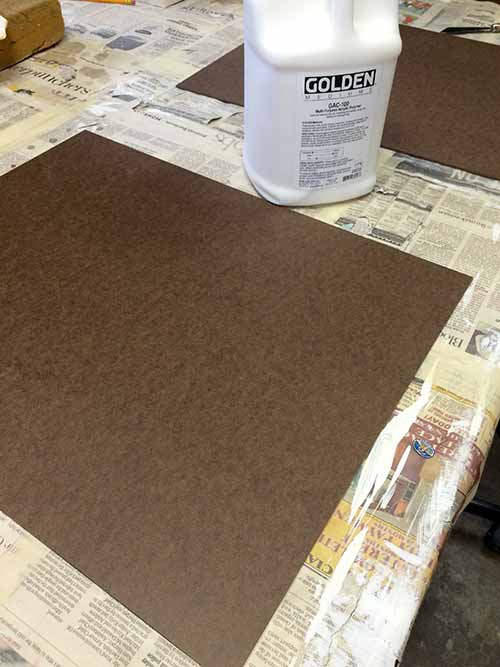
I have three hardbords sized in the studio, and seven more in the wings. I used their recommended GAC-100 from Golden and applied four coats to both sides. The surface is pretty smooth at this point, and I’m slightly concerned about the gesso adhering, but I want to trust them when they say “GAC-100 also forms a good foundation for proper adhesion to layers of gesso.” If the gesso sticks, I think I’ll be investing in more Ampersand Hardbords.
Artwork for the exhibit is due for hanging by August 12, and the opening evening party is August 20. That’s only six months from today.
I really shouldn’t be blogging right now.
*****UPDATE*****
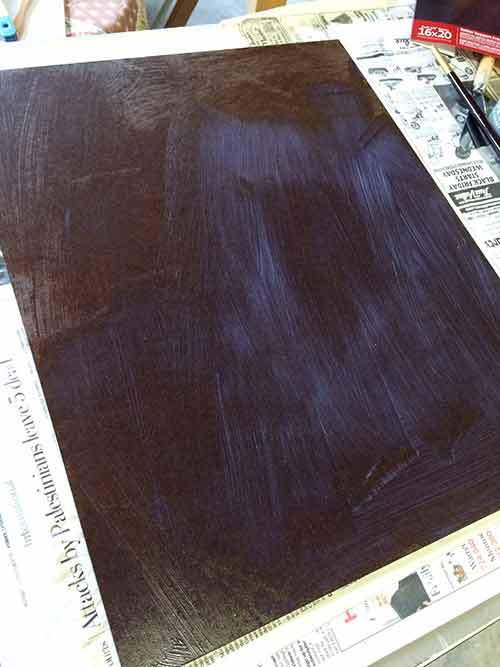
I test applied gesso on a corner of one of the sealed boards and, defying all logic, it adhered perfectly to the GAC-100. I was completely skeptical going in because of how smooth the surface was, but dang it if Golden doesn’t have this thing figured out. Two more coats of gesso, and these boards will be good to go!